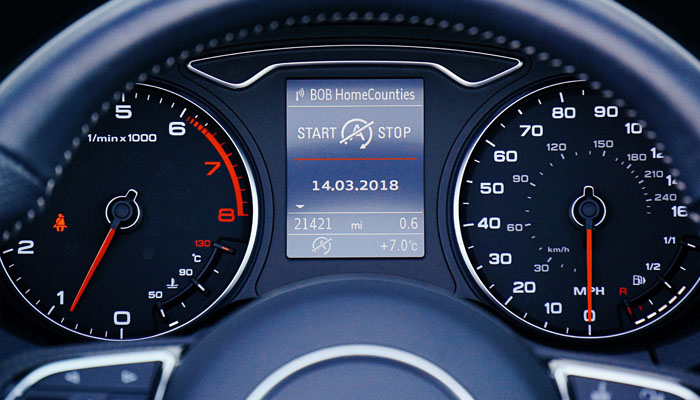
When you see a warning light illuminating on your dashboard, you should pay attention to it. It is likely that your vehicle is experiencing a system failure. Keep in mind that the electrical systems in your car determine if all the components in your vehicle are properly functioning. When you notice the Check Engine light flashing, it is telling you that there is something wrong with the engine or the powertrain. This is why it is important to know what the warning lights indicate to avoid bigger problems.
Whether you buy a new vehicle from a dealership or a used truck online, one of the important maintenance tips you should learn is how to reset the Check Engine light. It is as essential as learning how to identify the cause of your engine problem. In this article, we will teach you the easy steps to do that.
First Step: Buying an OBD Scanner or Reader
OBD stands for ‘on-board diagnostics’. You can easily find an OBD scanner at Amazon.com or your local automotive accessories store. When you plug one into your car’s system, it will display the code which identifies the problematic part in your car. In this way, you will be able to diagnose the problem and address it accordingly.
Second Step: Plug the OBD Reader to Your Vehicle and Scan for Codes
Now that you have an OBD reader handy, find the port under the driver’s side dashboard. Check if the reader can fit into it. Keep in mind that when you perform this step, your car should not be running. Once you’ve connected the OBD reader, put the key to the ‘on’ position, but do not switch the engine on. The next thing you have to do is press the scan button. Wait for a few seconds or minutes while the tool is searching for codes.
Once the OBD reader identifies the problem, you will see a single code or a list of codes. Make sure you take note of the codes before moving on to the next step.
Third Step: Searching the Code Online
The next step using Google or any other search engine to search for the code. You will find automotive forums online discussing the particular code you got from your OBD reader. If you can’t pull up results from the code you entered, try submitting the make and model of your vehicle. In most cases, people with the same vehicle see the same code. If you’re lucky, you might find step-by-step instructions for your used truck online. The best part is, you do not have to be an expert mechanic to perform the repairs.
On the other hand, if you are not confident with your skills, it is still best to bring your vehicle to a trusted mechanic.
Fourth Step: Replace the Part
Once you’ve determined what needs to be done, it is now time to take action and replace the part. You should be able to learn from online forums where you can find the faulty part of your car. However, you can always resort to your vehicle’s manual for assistance. You can easily order the components online or buy from an auto parts store. In most cases, the part that you’d need is inexpensive and it would only take you a few minutes to replace it.
Fifth Step: Remove the Code from the Scanner
Once you’ve replaced the part, plug the OBD scanner back in. Remove the code by pressing and holding the ‘erase’ button. This allows you to reset the scanner. If there are no other problems in your vehicle, your Check Engine light would be gone now.