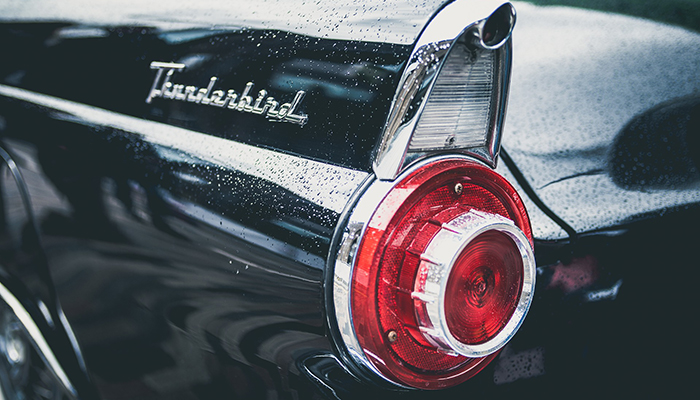
So, you’ve cleaned the body of your car thoroughly. However, it will still appear dirty if your tail lights look foggy. You might think that this issue can be resolved through a quick clean. However, grime and dirt can settle on the inside of your tail lights, making it more challenging to clean.
If the inside of your tail lights is horrendously dirty, you do not necessarily have to replace them. You can take your vehicle to a proper automotive shop and they should be able to fix the issue quickly. That said, if you want to learn the process of cleaning the inside of your tail lights, keep reading this post.
Why Do Tail Lights Get Dirty on the Inside?
You might be baffled as to how tail lights get dirty on the inside, especially since they are not exposed to external elements. Well, over time, condensation can find its way inside your tail lights. Once it sits there for an extended period of time, it will eventually become a grimy, thick substance that will make your tail lights look foggy. This is also the reason why most used trucks like the Mitsubishi Fuso Fighter look somehow dirty. However, you can easily fix this using our tips below.
What You’ll Need in Cleaning Your Tail Lights on the Inside:
- Hot air blower or hair dryer
- Silicone-based sealant, butyl, or weather-strip adhesive
- Screwdriver
- Wrench
- Cotton cloth
First Step: Removing the Tail Light Assembly
When removing the tail light of your vehicle, it is best to check the owner’s manual to know the appropriate procedure. Remember to remove the bulbs and electrical sockets before detaching the tail light from the body of the car or the Mitsubishi Fuso Fighter. Also, you have to shake off the excess moisture and water before heating and drying up the condensation.
Second Step: Drying the Tail Lights with a Hair Dryer
Take your hot air blower or hair dryer and point it on the socket holes at the rear side of the tail light assembly. Heating it up will let the water evaporate quickly. On the other hand, if there is excessive water in your tail lights, make sure there are no traces of liquid and moisture before you use the hair dryer. That said, avoid pointing the hair dryer directly on the tail light’s lens because the heat will warp it.
Third Step: Inspecting the Seal on the Enclosure of the Tail Light
It is possible that your tail lights accumulated so much moisture or water because its weather-stripping or seal has been warped or damaged. So, you need to check the surrounding areas and ensure that al entry points for the water are sealed properly. We suggest purchasing weather-strip adhesive in tubes so you can apply the product with ease. Simply follow the instructions on the packaging, then let the adhesive dry for a minimum of 30 minutes.
Fourth Step: Put the Tail Light Assembly Back to the Body of the Vehicle
After getting rid of condensation and all traces of water, you can now place the tail lights back in their respective positions. After aligning the tail light assembly on the vehicle body, take the nuts or screws and tighten them securely to hold the enclosure in place. Of course, remember to insert the electrical sockets and bulbs.
You can also use the instructions above to clean your vehicle’s headlights. However, you need to be extremely cautious when applying heat on them to avoid damaging the lens.
Make sure you browse through our blog posts to get more car maintenance tips and insider guides on getting premium quality used trucks and cars!