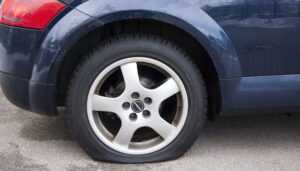
If you’ve owned a car for quite some time, you’ve probably seen that black or reddish-brown dust on your brakes. It can obscure the once shiny, smooth surface of the metal wheels. Aside from being unsightly, brake dust can also permanently pit the surface of the wheels and damage it. It can be challenging to get rid of it. However, there is no need to be alarmed. As part of our car maintenance series, we are going to share how you can remove the thick dust from your car brake.
What is Brake Dust?
In general, most brake dust is mainly made up of iron. Regardless of the material of the pads, brake disks are, in most cases, made of iron. Because the disk expels more debris than the pads, it is safe to conclude that about 90% of the dust is iron. The rest of the dust is probably carbon, which comes from the pad.
How to Remove Brake Dust?
In most cases, you can get rid of dust from your car brake quickly and without any hassle. Keep reading below to know the materials and steps you’ll need.
Materials
- Wheel cleaner – choose a product specifically designed for the type of wheel you have
- Washing glove mitt
- Sponge and clean towels
- Bucket
- A water hose and nozzle
- Wax
- Soft-bristle brushes in different sizes
Step 1
Before you proceed, you need to make sure that the wheels are cool enough to touch. You should also ensure that they are out of the direct sunlight. In this way, you can keep them cool and they won’t dry while you’re cleaning.
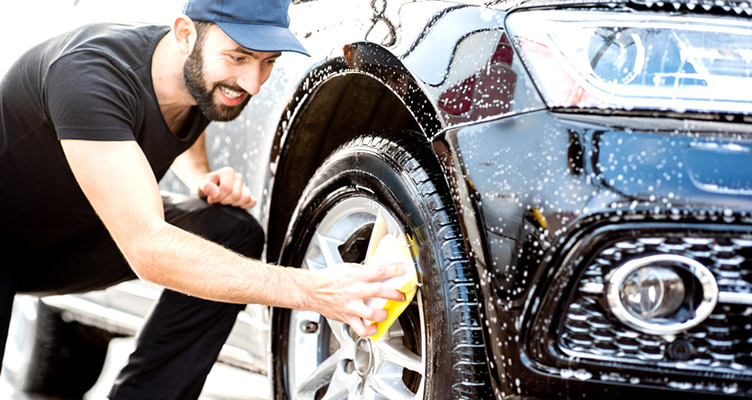
Step 2
Take your water hose then rinse the wheels to get rid of heavy debris and dirt. Doing so will prevent the dirt from scratching the surface of the wheels while you’re cleaning.
Step 3
Take your brake dust cleaner and read the instructions carefully. You should make sure that the product is safe for the type of wheels you’re working on. Moreover, you should check how long you should let the cleaner sit on the wheel before you start scrubbing.
Step 4
Spray the cleaner on one wheel and let it soak for the recommended length of time. While waiting, you will notice that the brake dust is starting to disintegrate. You will see it running off the wheel.
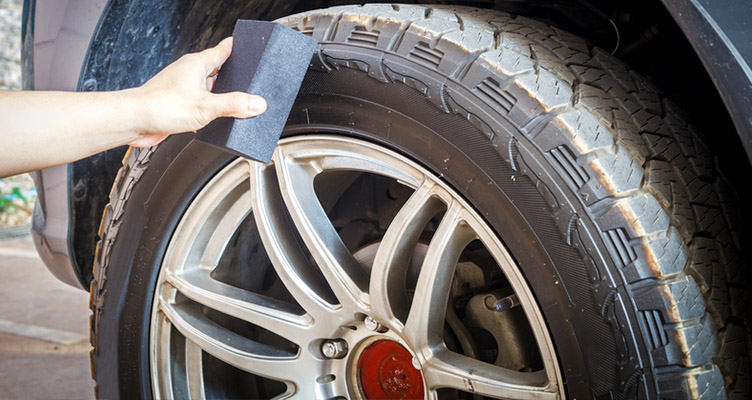
Step 5
Take the soft-bristle brush or washing glove mitt, then scrub the surface of the wheel gently. Remember to go around the tire valve stem and in between the spokes to ensure that you’ll get rid of brake dust. Keep in mind that the brush must be stiff enough to get the job done efficiently. However, it must still be soft enough not to damage the finish of the wheels.
Step 6
Take the water hose and rinse the wheel. After cleaning the wheel, check if you missed any spots. If so, repeat Steps 1 to 6.
Step 7
Use a clean rag to dry the wheel.
Step 8
After ensuring that all the brake dust is gone and that the wheel is completely dry, apply a layer of wax on the surface. Make sure you follow the instructions on the label of the vehicle wax. This final step will prevent dust from building up on your car brake. Moreover, it makes future cleanings a lot easier.
It may be daunting to take on the task of cleaning brake dust. However, once you know how to do it properly, the entire process will be a lot easier. In most cases, it will only take you less than an hour to complete the job!
If you want to know more car maintenance tips, feel free to browse through Carused.jp’s blog!