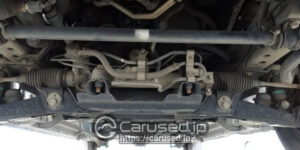
In most auto shops, the largest volume of repairs they deal with involves brakes. When performed correctly, brake repairs can be a profitable service for any car service center. It is worth noting that pads and brake rotors are the most crucial component of any ABS, stability, or traction control system. Without the right rotor surface or friction levels, there will be complex issues in a vehicle’s operation.
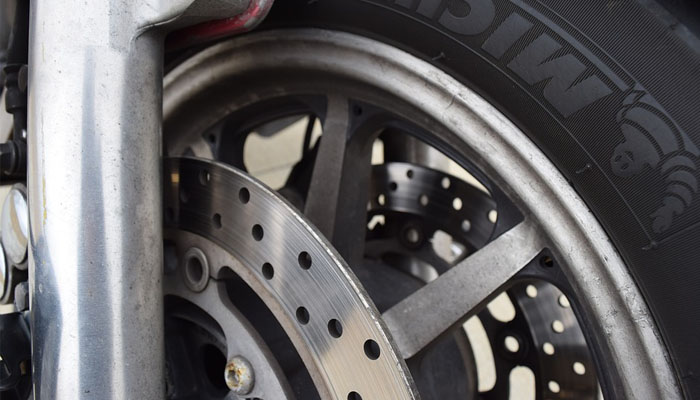
What is a Brake Rotor?
Typically, vehicles have four brake rotors. Also referred to as brake discs, rotors are essential components of a braking system. The pads clamp them down, allowing the system to put the spinning wheels to a stop. Whenever you step on the brakes you are wearing out the rotors. There are several factors that determine the rate at which the rotors wear. Here are some of them:
- The quality and hardness of the castings
- The type of pads used in the braking system
- The level of efficiency at which the rotors can cool themselves
- How the driver uses the brakes
- Moisture and/or road salt exposure
In some cases, the rotors can be resurfaced. A mechanic can grind down their surface, making them flat and smooth again. However, this will only work if the rotors are not cracked or warped. On the other hand, when the amount of wear is irreparable, then it is time to replace them.
Items You’ll Need in Replacing your Brake Rotors
- Wrenches or a ratchet for removing the brake rotor and caliper from the wheel hubs
- Wheel chocks
- Jack and jack stands
- Sand paper
- Protective gloves
- Cleaning agent for the brake parts
Easy Steps on Replacing your Brake Rotors
The first thing you have to do is to loosen the lug nuts. Then, you use your jack to raise the vehicle. Take off the wheel, then carefully place it under the vehicle for safety. Look for the bolts securing the caliper, then loosen them. Remove the old brake pads, then start lifting the caliper from the rotor. Avoid letting the caliper dangle from the brake line. Make sure it is properly supported.
Generally, it is easy to pull the rotor off the wheel hub. However, if it gets stuck, you can start loosening it, using a hammer. Remember to use a bugger, then strike the center with gradually increasing force. If a cotter pin holds the rotor in place at the hub, you might need to remove this too.
Before you fit the new rotor, it is advisable to get rid of the protective coating, using sand paper. It is also best to sand down the new brake pads to ensure that they grip properly. Once you’ve placed the rotor on the hub, take a clamp and press the caliper pistons in. Place the new brake pads, then bolt the assembly back in. After that, you’ll need to bleed the brakes. You might have to wait for a while for the braking force to come back. It may take a few kilometers of driving before your braking force can return to its normal state.
Some Important Things to Remember
- It is recommended to use a new set of brake pads when you’re replacing the rotors.
- After doing any work on the brake system, do not forget to bleed it.
- As we’ve mentioned, you can resurface an old rotor. However, there is always a limit as to how many times you can do it.
- When you notice too much noise when braking, weak braking power, or a pulsing pedal whenever you’re slowing down, it is time to replace your brake rotors.