The fluids in your vehicle perform two essential operation functions—cleaning and lubricating. While the fluid is circulating through the components, it collects the metal shavings and dirt that accumulate over time. In some cases, the debris tends to settle on the bottom of the housing or pan, preventing them from circulating through the system. This is also the reason why some service centers have machines that perform a transmission fluid flush. Doing this process ensures that the collected debris will be removed before fresh transmission fluid is poured into the vehicle.
Regular fluid replacement is always mentioned in articles about essential car maintenance tips. After all, doing it can prolong the life of any vehicle. In general, automatic transmissions need fluid changes every 30 months or 30,000 miles. However, it is always best to check your car manual to know the manufacturer-recommended interval.
In this article, we will teach you the easy steps on changing your automatic transmission fluid and filter. This can be useful especially when you’re buying cheap used cars online. As we all know, you need to get old cars a good fluid flush to get them to function efficiently.
Place your Vehicle on Ramps
You can begin by jacking up the front portion of your car or placing the entire vehicle on ramps. Remember to block the wheels and do not forget to change in old clothes because the process can be very messy. You might also want to lay down newspaper underneath the area you’re going to work on to avoid getting oil on your driveway. Also, you have to dispose of the old oil properly once you are finished. Keep in mind that this is hazardous waste that should not be discarded with regular rubbish.
Look for the Transmission Pan
Consult your owner’s manual to know where to find the transmission pan. Once you’ve located it, put the pan underneath where you’ll flush the oil. Slowly remove the bolts and remember to keep your face out of the way. Once the seal is loose on the bolts, the fluid will start to drip. Put the bolts aside, then let the oil drain them completely into the pan. Wash the deposits and sediments out of the pan using fluid, not water.
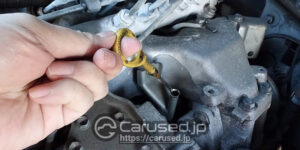
You should also check the debris in the pan. The appearance of the fluid will tell if the transmission has been running properly or if there are early signs of impending trouble. If you are not certain how to determine this, you can let an experienced mechanic look at it.
Inspect the Gasket
You have to check if the gasket needs replacement. If it is worn out, go ahead and change it. Doing so will help prevent expensive repairs down the road. Once you’ve done that, apply a thin layer of RTV sealant onto the flange of the pan to ensure that it is securely sealed.
Remove the Filter
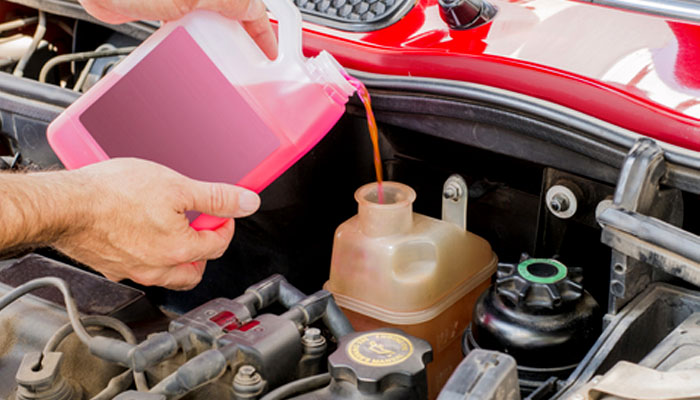
Once you’ve drained the fluid completely, remove the filter. Remember to be careful when doing this because fluid can get in the filter as well. Get your new filter and put it in place. Make sure that you tighten it according to the guidelines laid out in the car manual. Mount the bolts and tighten them by hand for a couple of threads. Secure them using a tool. Now, use a funnel to pour fresh oil.
After changing the oil, start your engine and let it run for a couple of minutes. Try shifting your gears for a number of times, then place the stick back in Park. You should also get your dipstick and check if the oil is sitting at the right level.