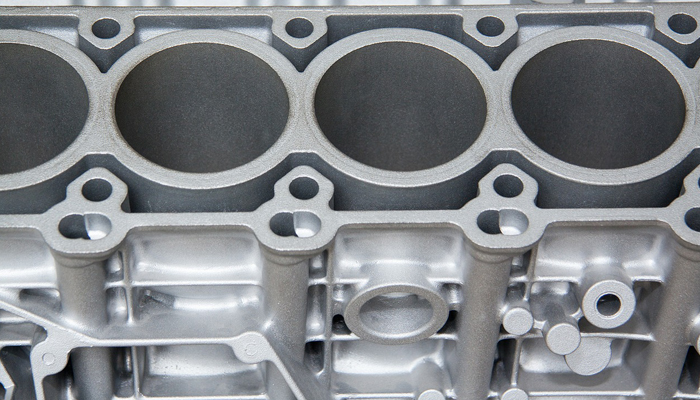
A crankcase filter is crucial in ensuring that the oil-contaminated air will not go back into the engine. These days, cars have designs that send the fumes of the crankcase back into the engine. Essentially, the crankcase filter captures the car oil residue in the air passing through the engine.
It is worth noting that replacing the crankcase filter is an essential part of a good car maintenance routine. Doing this is quite easy, but you need to have enough knowledge to select the right product and properly change the old crankcase filter.
How to Choose the Ideal Crankcase Oil Filter
When you wish to achieve optimum filtration and venting, you should visit various retailers to compare the available deals. The common mistake of people is assuming that they can use any type of crankcase filter for their vehicle. The truth is, they have the freedom to choose from different models and brands.
You will notice that the prices of crankcase oil filters vary significantly, depending on its material, design, mounting features, and other essential factors. Anyone who has enough knowledge about proper car maintenance acknowledges that even the smallest care routine can make a big difference over time. Here are some tips for selecting the ideal crankcase oil filter:
- Ensure that you are buying a high-quality crankcase oil filter.
- Make sure that you completely understand the details about the product you are about to purchase.
- Check what type of anti-drainback valve system the filter contains.
- Inspect the material of the core, ensuring that it will be strong enough to endure extreme pressure.
- Finally, evaluate the quality of the other filter parts, including the base plate, gasket, and other miscellaneous hardware items that come with the product.
How to Replace the Crankcase Oil Filter
- First Step: Look for the air filter housing to find the crankcase filter. Typically, you will see this in front of the engine bay’s O/S corner.
- Second Step: Begin loosening the fasteners that hold the air filter housing’s cover. Remove the cover, then use a clean cloth to remove any residue.
- Third Step: You can now remove the air filter housing. However, before you do this, take note of the air filter’s position inside the housing.
- Fourth Step: Take a couple of minutes to clean the air filter housing thoroughly. Doing so will ensure that car oil or dirt particles won’t transfer to the new crankcase filter. You might also need to clean the housing’s interior and ensure that there are no dirt particles or debris stuck inside.
- Fifth Step: Locate the crankcase filter, then remove the retaining clip on it. In general, the crankcase filter is inside the air filter housing. Once you’ve removed the plastic housing and the filter, you can now take out the old crankcase. However, before you mount the new crankcase filter, compare it with the old one, ensuring that they are the same.
- Sixth Step: Once you’ve placed the new crankcase filter, you can fasten the retaining clips. After that, you can replace the filter and the plastic housing. Now, put the filter back in, ensuring that it is in the same position as when you removed it. Attach the air filter’s housing cover, then screw the nuts back in place.
As you can see, replacing the crankcase oil filter of your vehicle can be done on your own. However, if you are not confident that you can perform it successfully, it is always best to seek the help of an experienced mechanic.
Have you tried replacing your car’s crankcase oil filter?
Share your experience in the comments section below!


