One of the most common problems encountered by truck owners is a diesel engine blow-by. Whether you bought a heavy vehicle from a Japanese Car Auction or a dealership, this is one of the issues you will possibly deal with. Usually, mechanics recommend an expensive engine rebuild to resolve such a problem.
What is a Diesel Engine Blow-By? What Are Its Causes?
When the piston and cylinder wall of an engine has a damaged seal, the air-fuel mixture starts to leak into the crankcase. The resulting issue is what we refer to as a blow-by gas in the diesel engine. There are several reasons why such problem happens. Here are some of them:
The Cylinder Walls Have Worn Out
Of course, the cylinder walls start to wear out due to the daily use of the diesel engine. Because of the constant scraping of the piston ring, the bore grows larger over time. The result is a gap between the cylinder and the piston. This ‘slop’ becomes bigger, allowing the compressed gases to pass around the piston freely.
The Pistons Have Worn Out
Over time, the pistons wear out and shrink slightly. Since aluminum is a soft metal, the grit that collects inside the combustion chamber eventually creates grooves on the piston. Consequently, the compressed fuel-air mixture find its way into the grooves, and escapes into the crankcase.
The Rings Have Worn Out
According to the extensive piston ring studies conducted by researchers at the Helsinki University of Technology, one of the common causes of an engine blow-by are worn out rings. As we’ve mentioned, because the rings scrape back and forth, the cylinder starts to wear them down, reducing their capabilities for sealing. As such, a blow-by shows up in front of the ring, allowing the gases to sneak around. Because the sidewalls start to wear out, the gases also leak around the ring’s backside.
Reducing Engine Blow-By with Proper Oil Treatment
You can thicken engine oil to fill the gaps and reduce blow-by with the right oil treatment products. Moreover, doing so will help condition dry, worn oil seals, preventing valve cover and engine oil pan leaks. Even with minimum experience in handling automotive engine, you can add the oil treatment product to the engine of your vehicle. Here are the steps:
- Open the hood of your car.
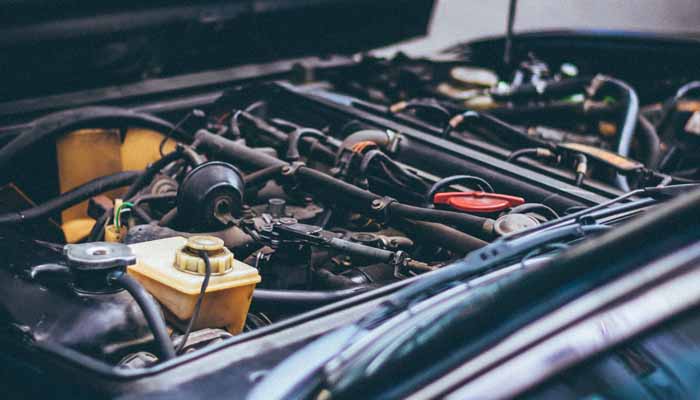
- Look for the engine filler cap, then remove it. If you do not know where it is located, we suggest reading the owner’s manual.
- Turn the engine oil filler in a counterclockwise direction to remove it. In some cases, you can easily remove the cap by pulling it straight out or with a slight twisting motion.
- Now, you need to take the smaller end of the funnel, then insert it into the oil filler tube.
- Pour the prescribed amount of oil treatment product into the funnel. Make sure that the funnel you’re about to use is clean and free of debris or any other foreign particles.
- Once the final drops of oil treatment get into the engine, remove the funnel. Make sure you place a shop towel over the end of the spout as you begin to remove the funnel. Doing so prevents drippings from falling onto the engine.
- Place the oil filler cap back to its position.
- Close your vehicle’s hood securely.
- Get inside your car and start your engine. Let it warm up to its normal operating temperature. Doing so will allow the oil treatment product to blend well with the engine oil.


